

Artwork Set Up for Print
For your artwork to be Print Ready it will need to be:
- Supplied at the correct trim size (mm)
- With 3mm bleed on each edge
- Supplied in CMYK (or PMS colours)
- Image based artwork 300dpi
- Text based artwork 600dpi
- Design elements kept within 3mm clear space margin
- Single page scrolling PDF (not spreads or paginated)
Accepted file types:
We only accept files is as a Print Ready PDF. Not only are PDF files complete (with no missing fonts or links, if these were embedded) but they ensure that your colours and document information are secure. A correctly exported file should be small enough to send via e-mail or our WeTransfer file upload site.
Recommended programs for setting up print artwork:
- Adobe Creative Suite - InDesign or Illustrator,
- Affinity or other equivalent vector design programs,
- Canva (only for simple documents not requiring advanced finishing).
Anything else - such as Office programs (Word, PowerPoint) or AI generators are unable to natively produce print ready artwork. Please see below all our tips and tutorials for working with Adobe or Canva. Please contact us if you need design assistance to set up your file correctly and we will be happy to quote.
Flattened Files:
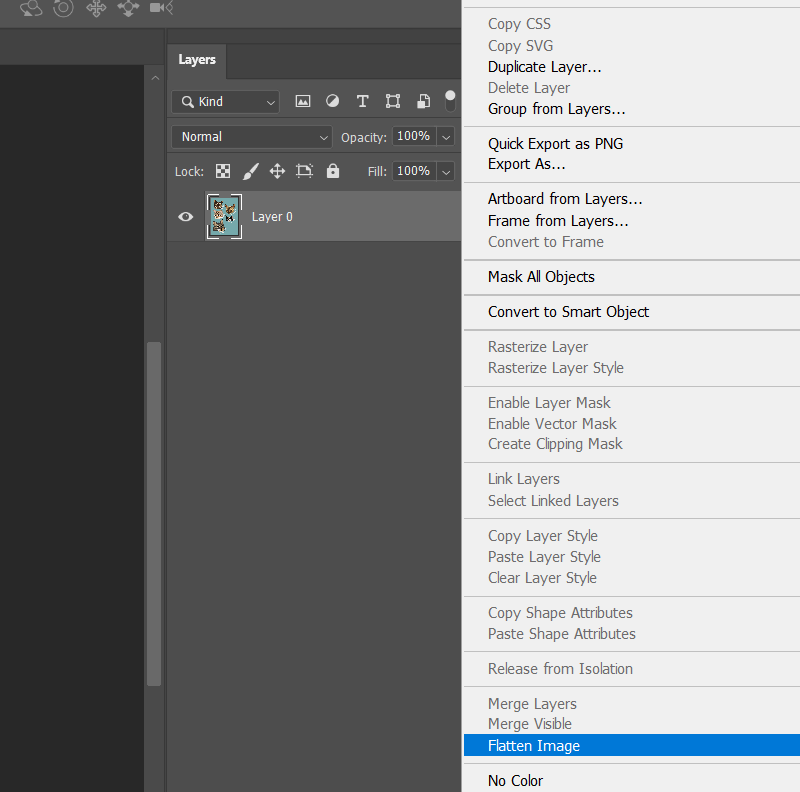
We require you to flatten your PDF before sending them through to us. We have extremely powerful RIPS on our printers. These rips disassemble files and study each component of the file to ensure every fine detail is understood, before reassembling them and printing in fine detail. If your file is not flattened and there are issues with the file, then it may not print the way you require. Read more here: How to flatten a file.
Bleed and crops/trim marks:
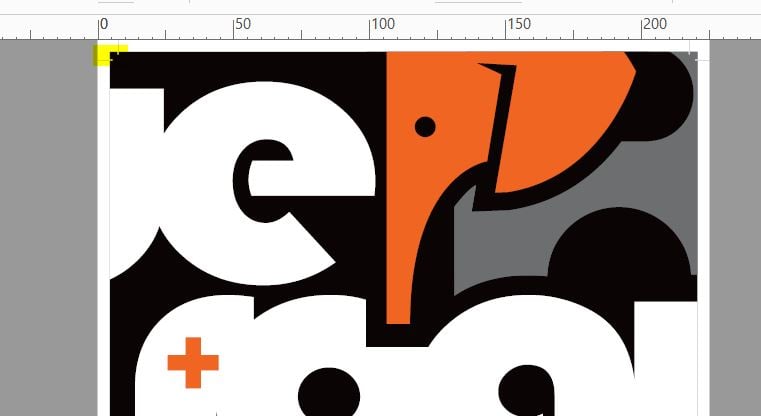
We require your artwork to have a minimum of 3mm bleed on each edge.
Bleed refers to the printing that goes beyond the trim edge, which allows for movement on the guillotine when trimming your product down to size. You will need bleed on any coloured background or image that touches the edge of your artwork.
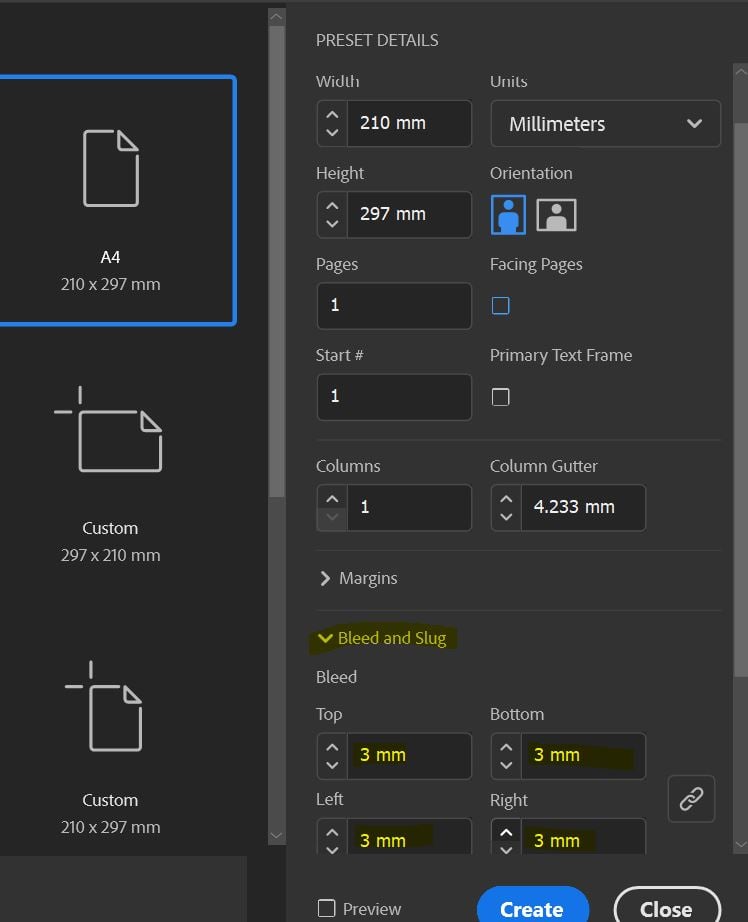
The 3mm of bleed will need to be added to each edge of your document. For example, if your artwork is A4 (210x297mm) with bleed included, the total size of the artwork is 216x303mm.
Most design programs allow you to set up bleed on the document canvas/artboard, and export out a PDF with bleed and crop marks. Read more here: Trim marks and Bleed.
Colour mode:
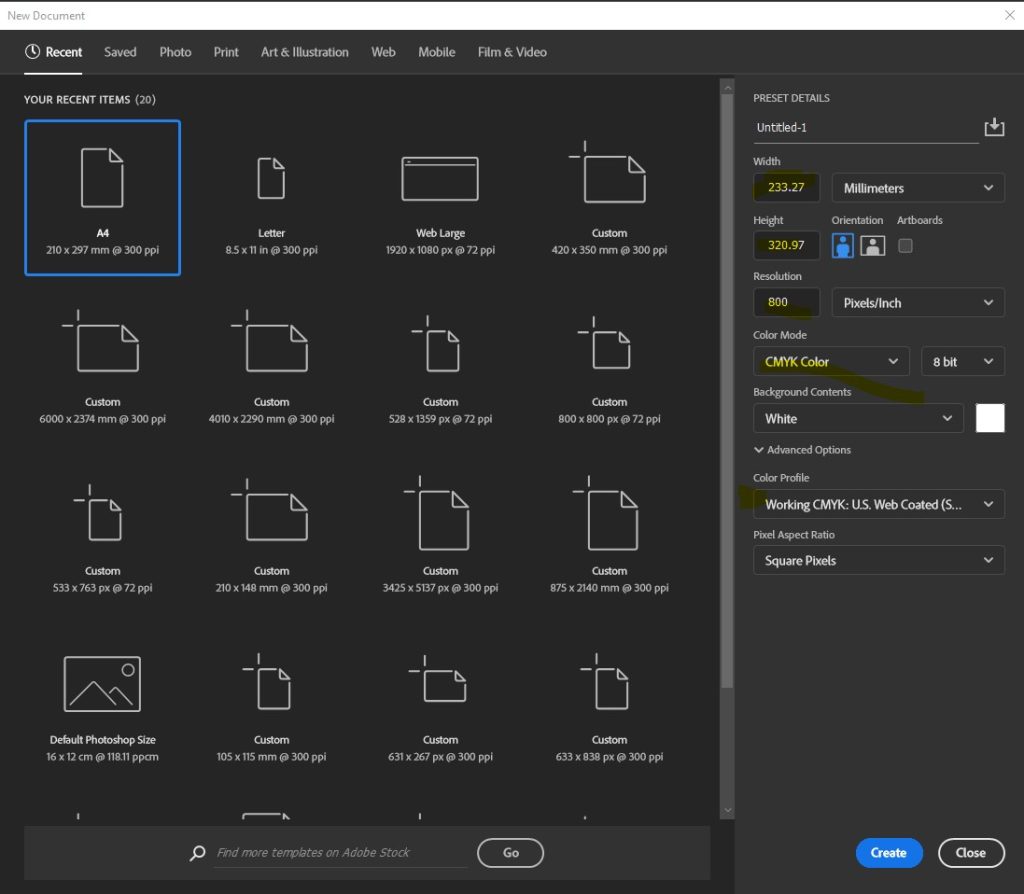
All files, unless otherwise stated, must be in CMYK mode. It is important to note that colours displayed on screen are indicative only and are always shown in RGB mode. CMYK is ink produced to a flat substrate (i.e. paper): Cyan, Magenta, Yellow and black (Key) inks are mixed together to create colours. RGB is Red, Green and Blue mixed with light to produce colours. Because there is no light on a printed substrate, sometimes CMYK colours can appear different to what you are looking at on a screen. For these reasons, converting RGB colours to CMYK can cause colour variation from what you expect, so it is important that you check the proofs we send very carefully, and keep the differences in colour modes in mind when setting up your artwork.
If you require specific colours, please provide PMS colour codes, CMYK breakdown, or send us a hard copy example of a previously printed item, so the substrate and finish can be accurately matched (as colour outcome can change with these variations).
Ensure all solid areas of black (such as background fills) are set up as 'Rich black' which is a combination of CMYK that results in a deep and even black. The rich black code is: C:60, M:40, Y:40, K:100. If you use 100% Black (C:0, M:0, Y:0, K:100), the colour outcome may be mottled and more grey in appearance due to oversaturation of the black ink.
Resolution:
The minimum resolution recommended for print is 300dpi. Anything less than 300dpi may be low resolution and may not print with the desired clarity you were after. If your artwork is predominately text based, we recommend 600dpi to ensure you achieve the sharpest looking text.
The resolution displayed on the web is 72dpi. This means that images saved from the internet/Google may not be suitable for print because the resolution could be much lower than the 300dpi minimum we recommend. We wouldn’t normally recommend sourcing your images from Google due to copyright reasons and image resolution, but if you are using images from Google for print make sure you make use of the search tools and refine the size and check the useage rights of the image you are looking for.
Always make sure to read your artwork proof carefully, and make sure we haven’t noted that your artwork may be low resolution and unsuitable for print.
We may offer a FREE hard copy sample of your work (so long as there is a live job), if you are uncertain about the clarity and resolution of your artwork.
Ownership and Licensing of Artwork and Images:
All Customers of Rogue Print and Mail must ensure that their content, and that the use of it, does not infringe anyone’s copyright; in particular, you must ensure that you either own the copyright of an Image that you wish to be printed and/or that you are fully licensed by the copyright owner to use the Image and to make any subsequent use of it. Rogue Print and Mail accepts no responsibility for the copyright of files that are supplied for printing.
Preflight:
We have automated software that undertakes preflight checks for the majority of our jobs. It applies fixes and informs our clients of any issues via email and then generates a soft proof (via email). Preflight in commercial print is the process of quality checking your file to ensure it is press ready. These checks catch errors and potentially hidden issues that could cause delays, reprints, or poor results, long before it hits the press. To learn more about these issues and how to fix them, please see: https://rogueprintandmail.com.au/preflight-faq/
Artwork set up tips and tutorials
What is bleed in printing?
What is bleed in printing and why do printers ask for bleed in printing files? Let us explain what bleed is in printing and why it’s needed.
What are Trim or Crop marks?
What are Trim or Crop marks? Learn what these are and why you need trim/crop marks on your artwork when submitting a print order.
How to Flatten a File for Print
Flattening your artwork is essential due to how design software & production equipment work. Learn how to correctly flatten a file for print.
How to create a print ready PDF with InDesign
How to create a print ready PDF with InDesign Follow our Step by Step tutorial to set up a document in Adobe InDesign for print. Some general tips before you get started: Keep text and design elements you don’t want cut off within clear space margins. This is to ensure none of your essential artwork…

How to create print ready artwork in Canva
How to create print ready artwork in Canva Follow our Step by Step tutorial to learn how to correctly set up your artwork print ready in Canva. What is Canva? Canva is an online platform that is used to create social media graphics and presentations. This free and popular tool provides users the ability…

How to Set up Custom Die Cut Artwork
How to Set up Custom Die Cut Artwork A guide on setting up and suppling artwork for new die / custom shapes for packaging, cards, brochures etc What is a dieline in printing? A dieline – or die, or knife – in printing, refers to the shape that a stock needs to be cut to…

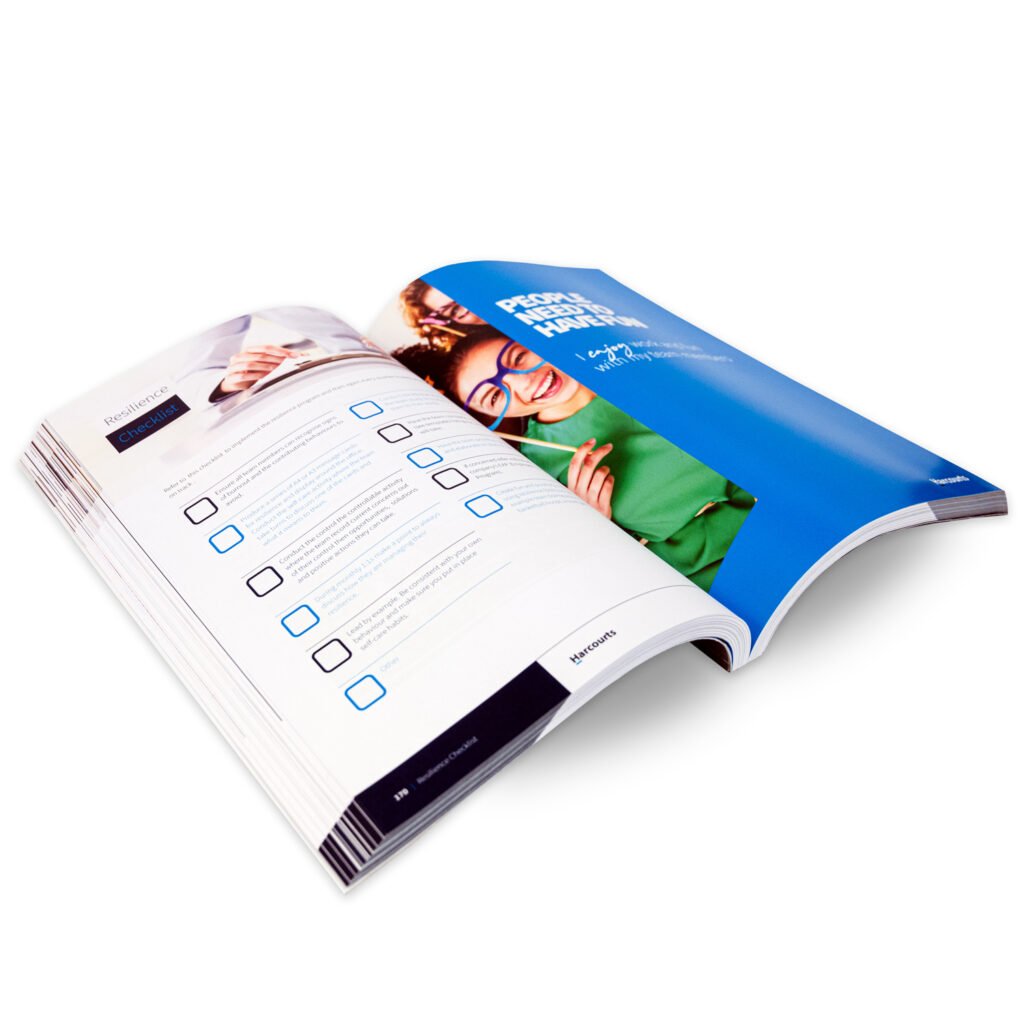
How to set up a saddle stitch book in InDesign
How to set up a saddle stitch book in InDesign Follow our Step by Step tutorial to learn how to correctly set up a saddle stitched booklet for print in Adobe Indesign. Saddle Stitch books are one of the most popular print products we produce. They can be used for annual reports, capability statements, magazines,…

How To Set Up a Business Card for Print in Indesign
How to set up a business card for print in indesign Follow our Step by Step tutorial to learn how to correctly set up your business card for print in Adobe Indesign. To help you get started, you can download our FREE Business Card Indesign Template. You can also watch a video version of this…

How to factor page creep in booklets
How to factor page creep in booklets Follow our Step by Step tutorial to learn about what page creep is, and how to factor this into your booklet set up. Read the guide What is creep in booklets? In saddle stitched booklet printing, creep is the movement of the pages as they are folded together…
How to Export a Print Ready PDF from Photoshop
How to Export a Print Ready PDF from Photoshop Follow our Step by Step tutorial to learn how to use Photoshop to set artwork up for print. Adobe Photoshop is the industry standard program for photographers and designers for professional image editing and manipulation.Photoshop is a ‘raster’ graphics based program, for the purposes of working…
How to set up a PUR Bound book for print
How to set up a PUR Bound book for print Follow our Step by Step tutorial to learn How to set up a PUR Bound book for print PUR Bound books are outstanding solution for volume run books over approx. 80+ printed pages, with a durable glued spine and option to have a design /…

Preflight FAQ
Preflight FAQ and information Preflight in commercial print is the process of quality checking your file to ensure it is press ready. These checks catch errors and potentially hidden issues that could cause delays, reprints, or poor results, long before it hits the press. At Rogue we have now introduced brand new automated software that…


