

How to Export a Print Ready PDF from Photoshop
Follow our Step by Step tutorial to learn how to use Photoshop to set artwork up for print.
Adobe Photoshop is the industry standard program for photographers and designers for professional image editing and manipulation.
Photoshop is a 'raster' graphics based program, for the purposes of working effectively with images. In the industry standard suite of graphic design software (Adobe Creative Cloud) both raster and vector graphics are used for different purposes.
In simple terms, vector based artwork means that the shapes do not lose resolution or become pixelated/blurry. The software used for producing vector based artwork – such as, logos, typography, icons, graphical elements, and importantly, artwork set up for print – is Adobe Illustrator and/or Adobe InDesign. These programs contain a suite of settings for correct print-ready set up that Photoshop does not.
Why this matters?
When you use the type tool in Photoshop, or make elements/shapes etc. in Photoshop – these will always be raster/pixel based, and, are subject to loss of resolution, especially if re-sized to become larger. In addition, Photoshop, as mentioned above, does not contain any print set-up settings to export out print ready PDFs.
In summary, why this matters:
- There are specific file requirements for a pdf to be print-ready that Photoshop does not natively produce, and
- The resolution and quality output from Photoshop can vary greatly.
While it’s certainly possible to produce artwork for print in Photoshop with some tweaks and settings that we’ll expand on below - there will always be limitations. We do recommend exploring investing in a subscription for a vector based software. As an alternative, the free version of Canva can be used in basic artwork setup and print export.
How do I make a Photoshop file ready for printing?
With those considerations in mind - let's get started:
Time Needed: 30 minutes
Total Cost: AUD100
Things Needed?
Required tools:
Set up and layout your file:
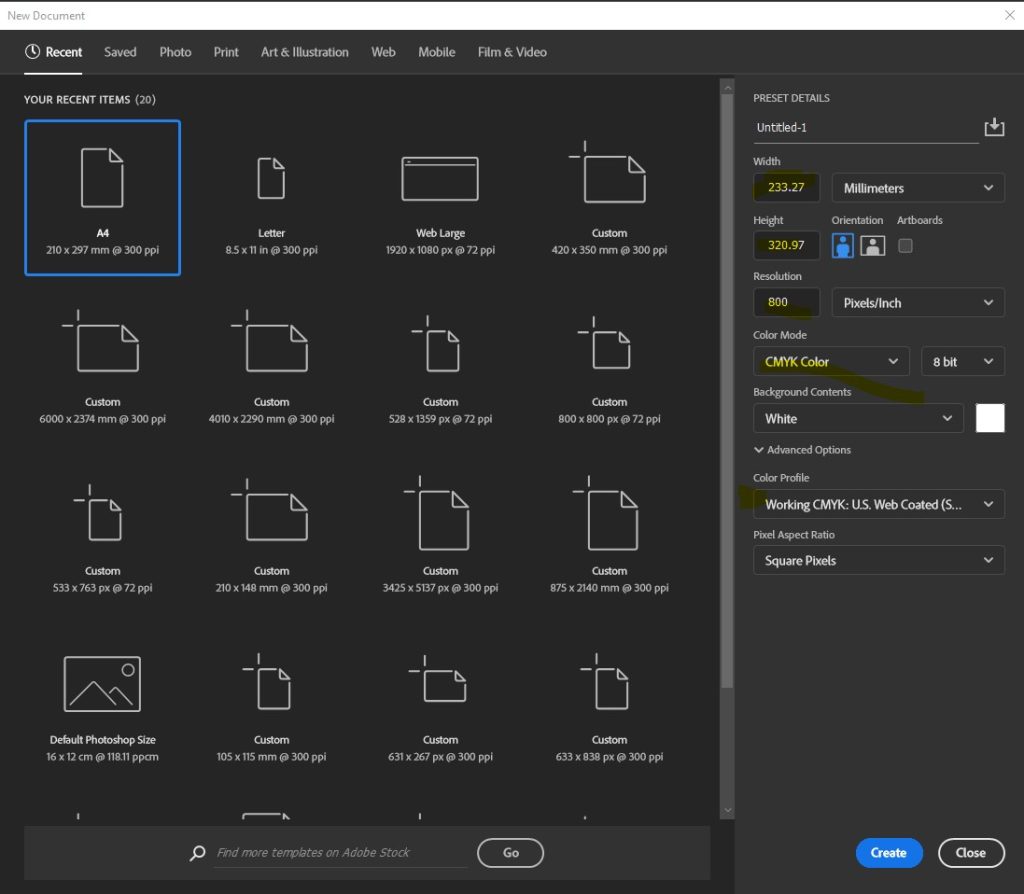
Step 1: Open Photoshop and Set Up Your Canvas
- Open Photoshop,
- Click 'Create New'
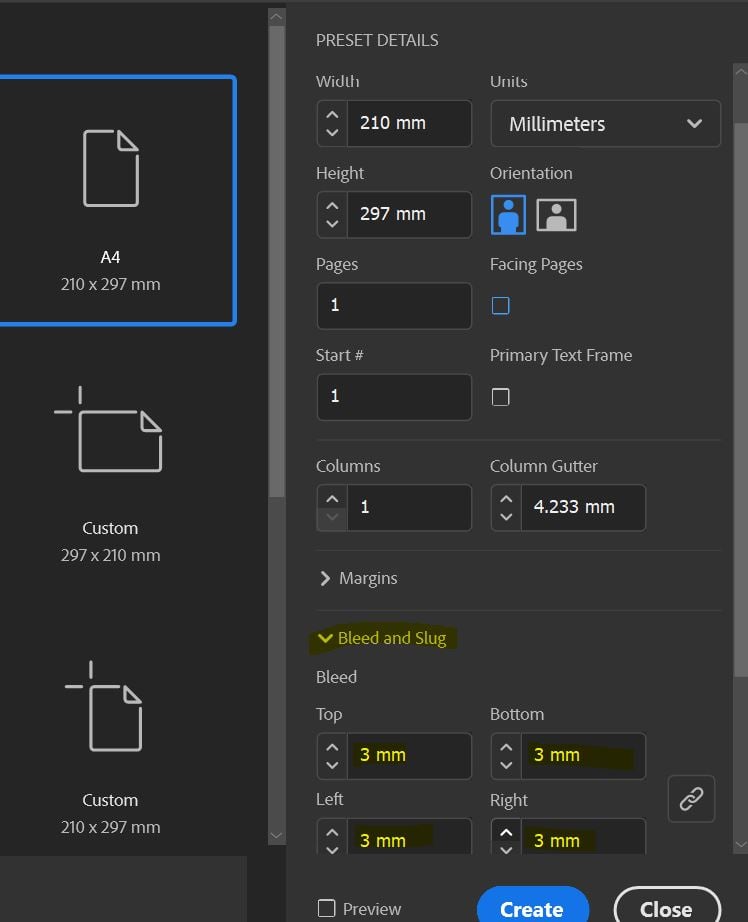
- In the preset details, in the size, you will need to enter the final size (i.e. A4) + 11.64mm for each edge, to factor in bleed and crop marks
- For example, A4 portrait: enter a width of 233.27mm and a height of 320.29mm
- In Resolution, enter 800 pixels/inch
- In Colour Mode enter 'CMYK'
- Click 'Create'
Note: It may be tempting to set up your canvas to the exact size (for example – A4), it is important to remember that in commercial print, we actually need a file with 3mm bleed and crop/trim marks. So, this means that the overall canvas size needs to be a bit bigger to factor these in.
Step 2: Set up your canvas
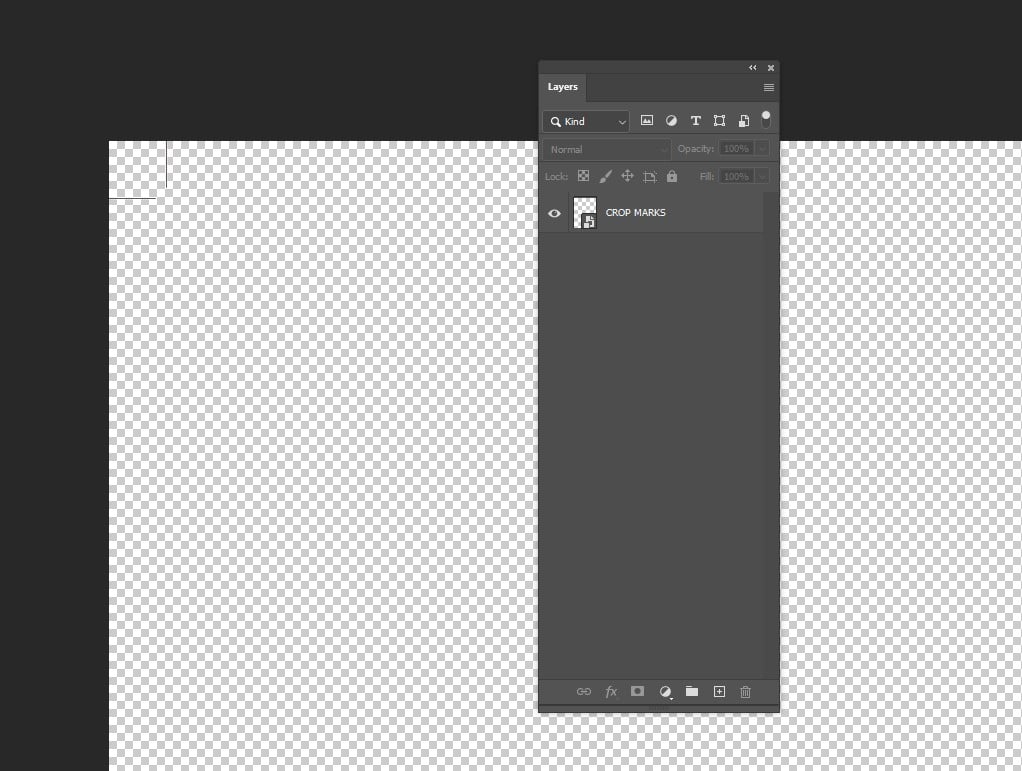
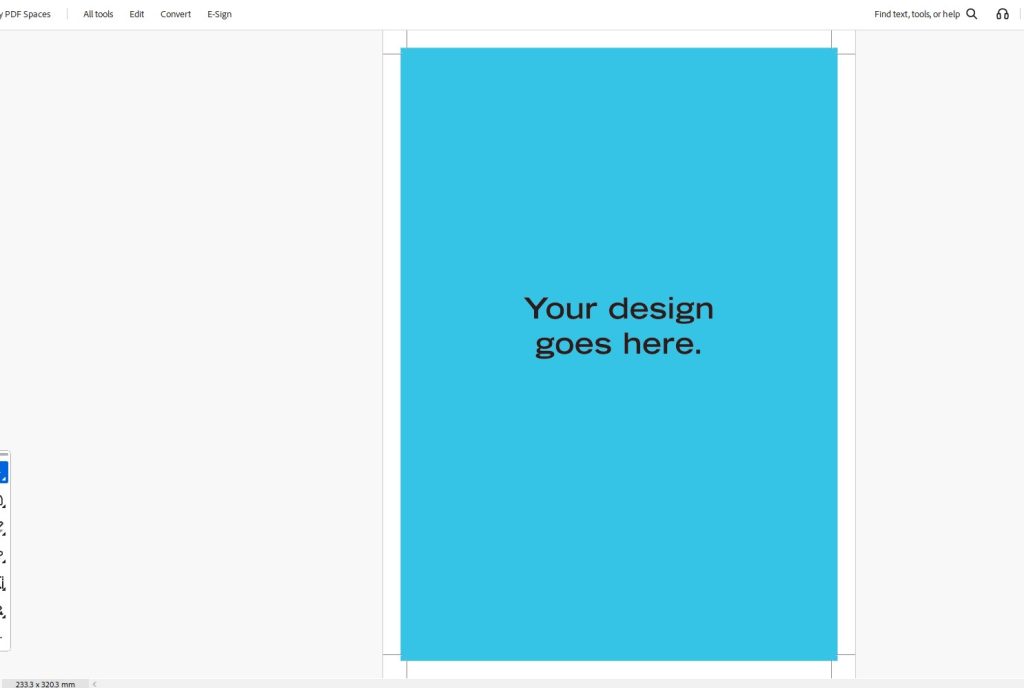
- So that your layout has crop/trim marks, and you can set it up with correct bleed - place in our crop mark template.
- To do so, download these for free here.
- Then, drag it in or place it in, by clicking file - place embedded - (select the file) - place
- Open your layers panel (view - layers) and ensure the crop mark template is always the top layer
- Click 'new layer' and drag it below the top layer. This is now your artwork layer.
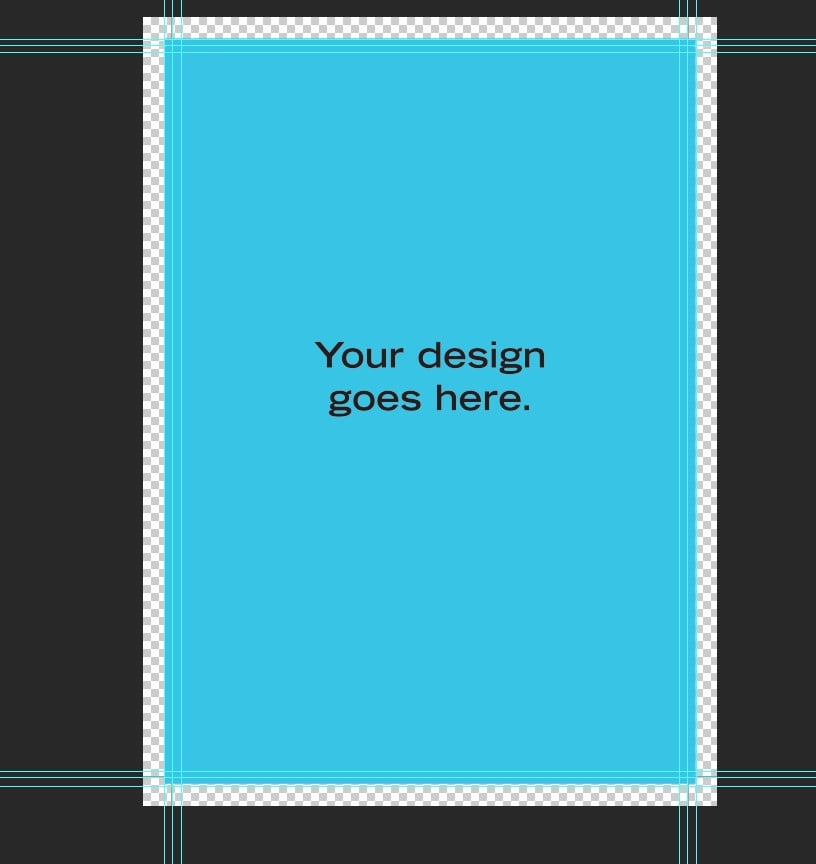
Step 3: Set your page guides
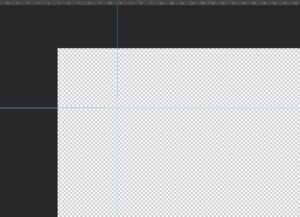
Trim Guides
- The first guides are to show where the finished size (where the page trims to) is.
- To see your guides, click View - Rulers and View - Show - Guides
- Using the Crop mark template, drag the guides (from ruler area at top, and at the left). Do this at the top and bottom of the canvas.
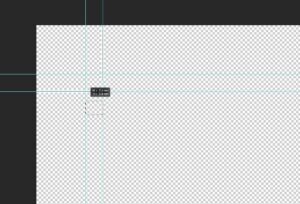
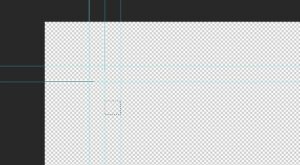
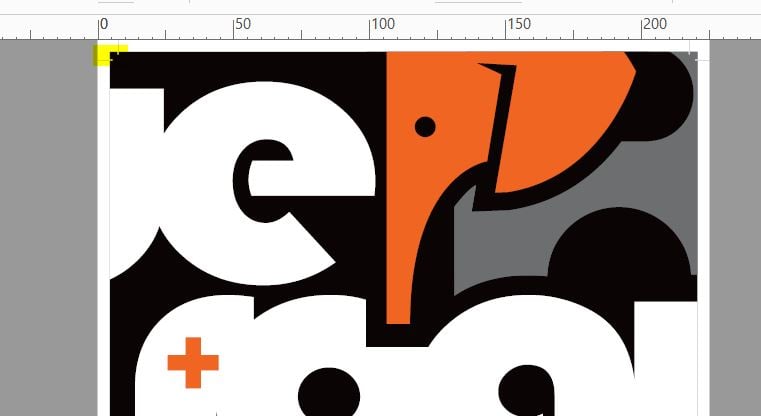
Bleed Guides
- These guides are to set the area for bleed which is required for print. You will need to ensure all page elements at least extend to this area.
- First you will need to measure out (i.e. by using a rectangle tool and dragging across as pictured) to at least 3mm.
- Using the same process as above, drag the guides from top and left. If you use the rectangle tool trick, the rectangle will remain after you draw it, so drag the guide to there.
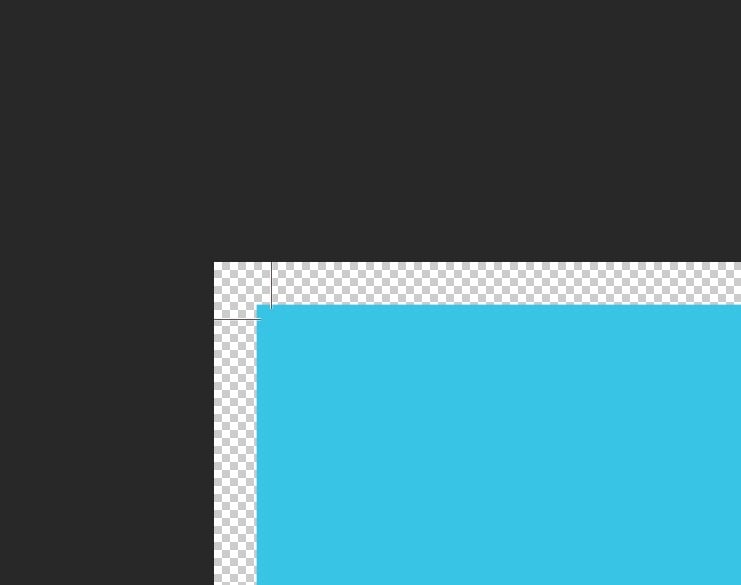
Margin guides
- These guides provide a minimum 'clear space' so your text and images don't get cut off too close to the edge. Once your add these, ensure you keep all important elements within the line.
Step 4: Complete your design
- Complete your design, ensuring you use the following:
- High resolution images - 300DPI minimum
- Logo and other graphical elements in vector or EPS, where you can. You can drag or place files that are vector (the file will end in .ai. .eps or .svg) and this will ensure a better resolution outcome for these assets.
- Ensure your design has plenty of clear space from the edges - keep important elements within the 3mm margins you created in step 2
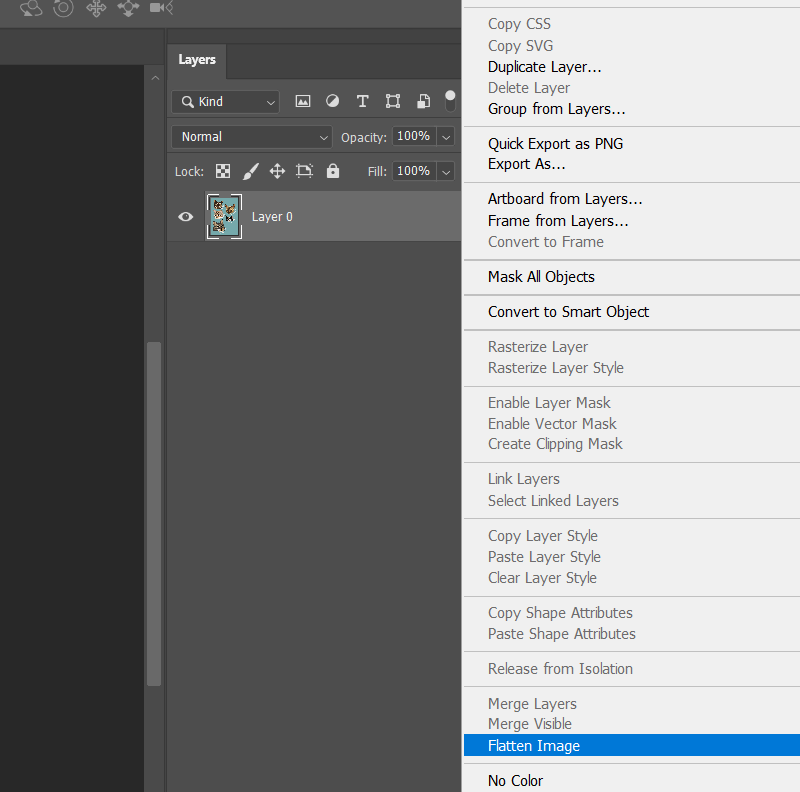
- We recommend flattening the page before proceeding to the next step.
Step 5: Double check your artwork set up
Before you export, double check your design:
- Ensure all colours/graphics bleed to the edge (beyond the trim marks), and no text goes beyond the margins
- Ensure all placed images/vectors are either linked or embedded
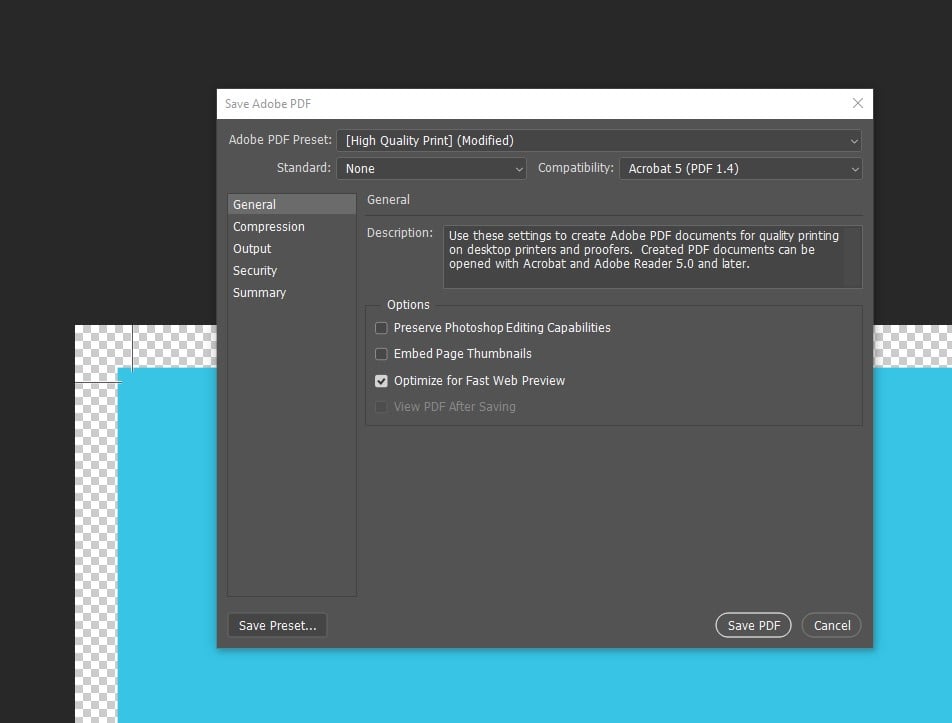
Step 6: Export to PDF
- Click File - Export - Save AS Type: Photoshop PDF
- In the General tab select the following:
- Adobe PDF Preset: High Quality Print
- UNTICK 'Preserve Photoshop Editing Capabilities' to keep file size down
- In the Compression tab select the following:
- Colour images: 300PPI,
- Automatic (JPEG),
- Image Quality: Maximum.
- In the Output tab:
- Convert to destination, select Working CMYK - U.S Web Coated (SWOP) V2 or Document CMYK. This will convert any potential RGB elements in your file to CMYK.
- DON'T include profiles.
- You can now click the 'Save PDF' button to export your file to PDF.
Step 7: Check your file and send to us for print!
- Open up your PDF to make sure everything looks as you want it to.
- Ensure that you can see Crop Marks and that the art bleeds beyond that (note: bleed marks aren't required)
- Fix any errors and re-export
- If you are happy with your digital proof, send through to us for print. To do so, you can email us the file quotes@rogueprintandmail.com.au or upload to our wetransfer site: https://rogueprintandmail.wetransfer.com/
Learn more about how to set up artwork for print:
How to Flatten a File for Print
Flattening your artwork is essential due to how design software & production equipment work. Learn how to correctly flatten a file for print.
What are Trim or Crop marks?
What are Trim or Crop marks? Learn what these are and why you need trim/crop marks on your artwork when submitting a print order.
What is bleed in printing?
What is bleed in printing and why do printers ask for bleed in printing files? Let us explain what bleed is in printing and why it’s needed.


